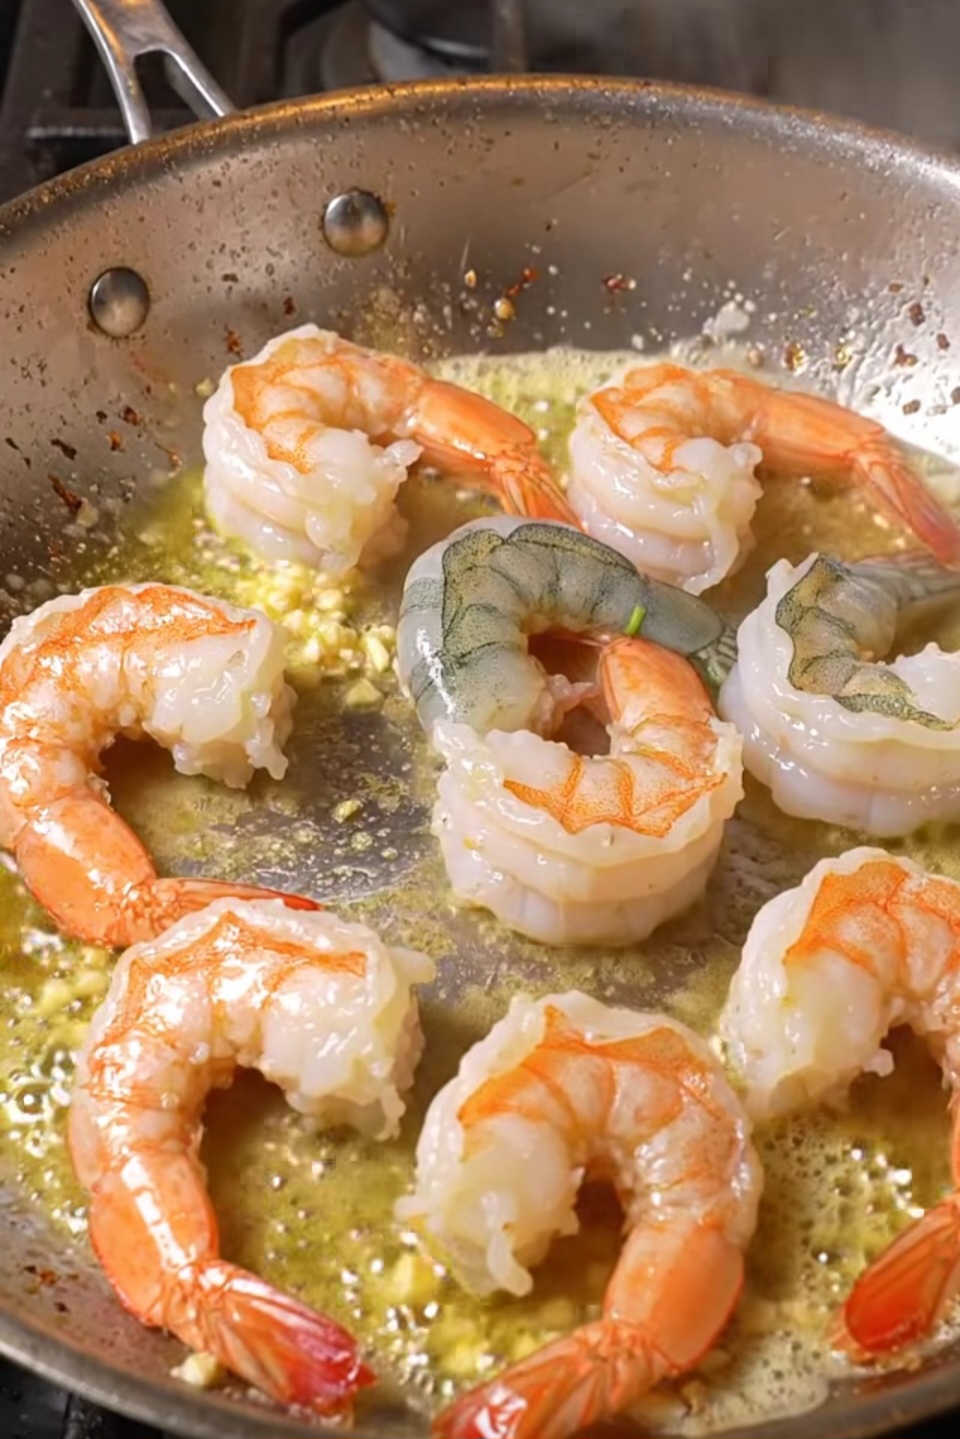
There’s a very specific kind of joy that comes from a recipe that takes less time to cook than it does to decide what to watch on TV. This soy garlic shrimp is exactly that kind of joy. Plump shrimp go into a hot skillet with butter until they turn golden and slightly crisp at the edges, then get smothered in a glossy, savory-sweet soy garlic glaze that clings to every bite.
I started making this on nights when takeout menus felt like too much effort and cereal for dinner felt like too little. It splits the difference perfectly — minimal cleanup, big flavor, and a glaze so good you’ll want to pour it over rice just to eat it plain. The whole thing comes together in one pan, which means less time cooking and more time actually sitting down to eat.
If you’ve ever stood in front of the fridge wondering what to do with a bag of shrimp, this is your answer. It’s fast enough for a Tuesday and impressive enough for guests, and it works whether you’re feeding just yourself or the whole table.
Why You’ll Love This Recipe
- Ready in 10 minutes — genuinely faster than delivery, door to plate.
- One skillet, minimal cleanup — no juggling three pots for a weeknight meal.
- Big, bold flavor — garlicky, buttery, and just sweet enough to feel indulgent.
- Budget-friendly — a handful of pantry staples plus shrimp keeps the cost low.
- Endlessly versatile — serve it over rice, noodles, greens, or straight out of the pan.
Ingredient Notes
The magic of this garlic butter shrimp skillet lies in how few ingredients it needs. Fresh garlic is non-negotiable here — the jarred pre-minced kind works in a pinch, but freshly minced cloves give the glaze a sharper, more fragrant punch that mellows beautifully as it cooks down with the soy sauce.
For the shrimp themselves, go for large or jumbo, peeled and deveined, with the tails left on for presentation (or off, if you’d rather eat with a fork and not think about it). Frozen shrimp work just as well as fresh — just thaw them fully and pat them very dry before they hit the pan, since excess water will steam the shrimp instead of searing them.
As for the soy sauce, regular soy sauce gives the boldest flavor, but low-sodium soy sauce is a smart swap if you’re watching salt intake — you can always add a pinch more at the end to taste. A touch of honey or brown sugar helps the sauce turn glossy and “sticky” rather than just salty, and a small splash of rice vinegar at the end brightens the whole dish.
[Recipe card goes here]
Step-by-Step Instructions
- Pat the shrimp completely dry. Use paper towels and don’t rush this step — moisture is the enemy of a good sear. Tip: wet shrimp will steam instead of caramelize, so this is the step people skip and regret most.
- Melt the butter in a hot skillet. Use a cast iron or heavy-bottomed skillet over medium-high heat. Let the butter foam slightly before adding the shrimp.
- Sear the shrimp in a single layer. Cook for about 1–2 minutes per side, until they turn pink and opaque with a light golden edge. Tip: don’t crowd the pan — cook in batches if needed, or the shrimp will steam rather than sear.
- Add the garlic. Push the shrimp to one side, drop the minced garlic into the buttery space, and sauté for 30 seconds until fragrant. Tip: garlic burns fast, so keep it moving and don’t walk away.
- Pour in the soy garlic sauce. Add your soy sauce, honey (or brown sugar), and a splash of rice vinegar. Stir everything together so the shrimp are evenly coated.
- Simmer until sticky. Let the sauce bubble and reduce for 1–2 minutes, tossing the shrimp so the glaze thickens and clings to each piece. Tip: pull the pan off heat the moment the sauce looks glossy — overcooking here turns shrimp rubbery.
- Garnish and serve immediately. Top with sliced green onions and sesame seeds, then serve hot straight from the skillet.
Nutrition Snapshot (Per Serving, Estimated)
- Calories: ~290
- Protein: ~26g
- Carbs: ~9g
- Fat: ~17g
These values are approximate and will vary based on exact ingredients and portion sizes used.
Storage & Reheating
Leftover shrimp will keep in an airtight container in the fridge for up to 2 days. Because shrimp turn rubbery quickly when reheated, the gentlest method is a quick reheat in a skillet over low heat with a splash of water or extra soy sauce to loosen the glaze — just a minute or two, until warmed through. Avoid the microwave if you can, or use short 20-second bursts at low power instead of one long blast. This dish isn’t a great freezer candidate, since previously frozen shrimp tend to turn mushy after a second freeze-thaw cycle.
Budget Note
This recipe is easy on the wallet, especially if you catch shrimp on sale or buy the frozen bags typically stocked in the freezer aisle, which run noticeably cheaper per pound than the fresh counter. A full batch typically works out to roughly $3–4 per serving, depending on shrimp size and where you shop. To stretch it further, bulk the meal out with steamed rice or noodles, or use smaller/medium shrimp instead of jumbo — you’ll get more pieces per pound without sacrificing much flavor.
Variations to Try
Healthy/Lighter Version: Swap the butter for a light drizzle of olive oil and cut the honey in half. The dish loses a little richness but keeps all the garlicky flavor, and it pairs beautifully with a big pile of steamed greens instead of rice.
Keto / Low-Carb: Replace the honey with a keto-friendly sweetener like monk fruit syrup, and double-check your soy sauce or swap in coconut aminos to keep the carb count low. Serve it over cauliflower rice for a full low-carb dinner that still feels indulgent.
Air Fryer Method: Toss the shrimp in melted butter and garlic, air fry at 400°F for 4–5 minutes, shaking the basket halfway through, then toss the cooked shrimp in a separately warmed soy garlic glaze. It’s slightly less “saucy” than the skillet version but comes with almost zero cleanup.
Meal-Prep Friendly: Cook a double batch and portion it into containers with rice and steamed vegetables for easy grab-and-go lunches. The shrimp reheats best gently, so portion the sauce a little extra to keep things from drying out over a few days in the fridge.
Allergy-Friendly Swap (Gluten-Free): Use tamari or a certified gluten-free soy sauce in place of regular soy sauce — the flavor is nearly identical, and everyone at the table can enjoy the same dish without a substitution standing out.
Frequently Asked Questions
Can I make this ahead of time? Shrimp cook so quickly that this dish is really best made fresh, but you can prep the sauce and mince the garlic ahead of time to cut your active cooking down to about 5 minutes.
What can I use instead of shrimp? Chicken breast cut into bite-sized pieces or firm tofu both work well with this same soy garlic glaze — just adjust the cooking time since chicken needs a few extra minutes to cook through.
Can I use frozen shrimp? Yes, and it’s honestly the most convenient option. Just thaw completely under cold running water and pat very dry before cooking so you still get a good sear.
Is this recipe spicy? Not as written, but it’s easy to add heat — a pinch of red pepper flakes or a small drizzle of sriracha stirred into the sauce gives it a nice kick without overpowering the garlic.
What should I serve this with? Steamed white or jasmine rice is the classic pairing since it soaks up the glaze, but this also works beautifully over noodles, in lettuce wraps, or alongside a simple stir-fried vegetable side.
Related Recipes You Might Love
- Honey Garlic Salmon Bites
- One-Pan Garlic Butter Steak Bites
- Easy Teriyaki Chicken Stir-Fry