Introduction
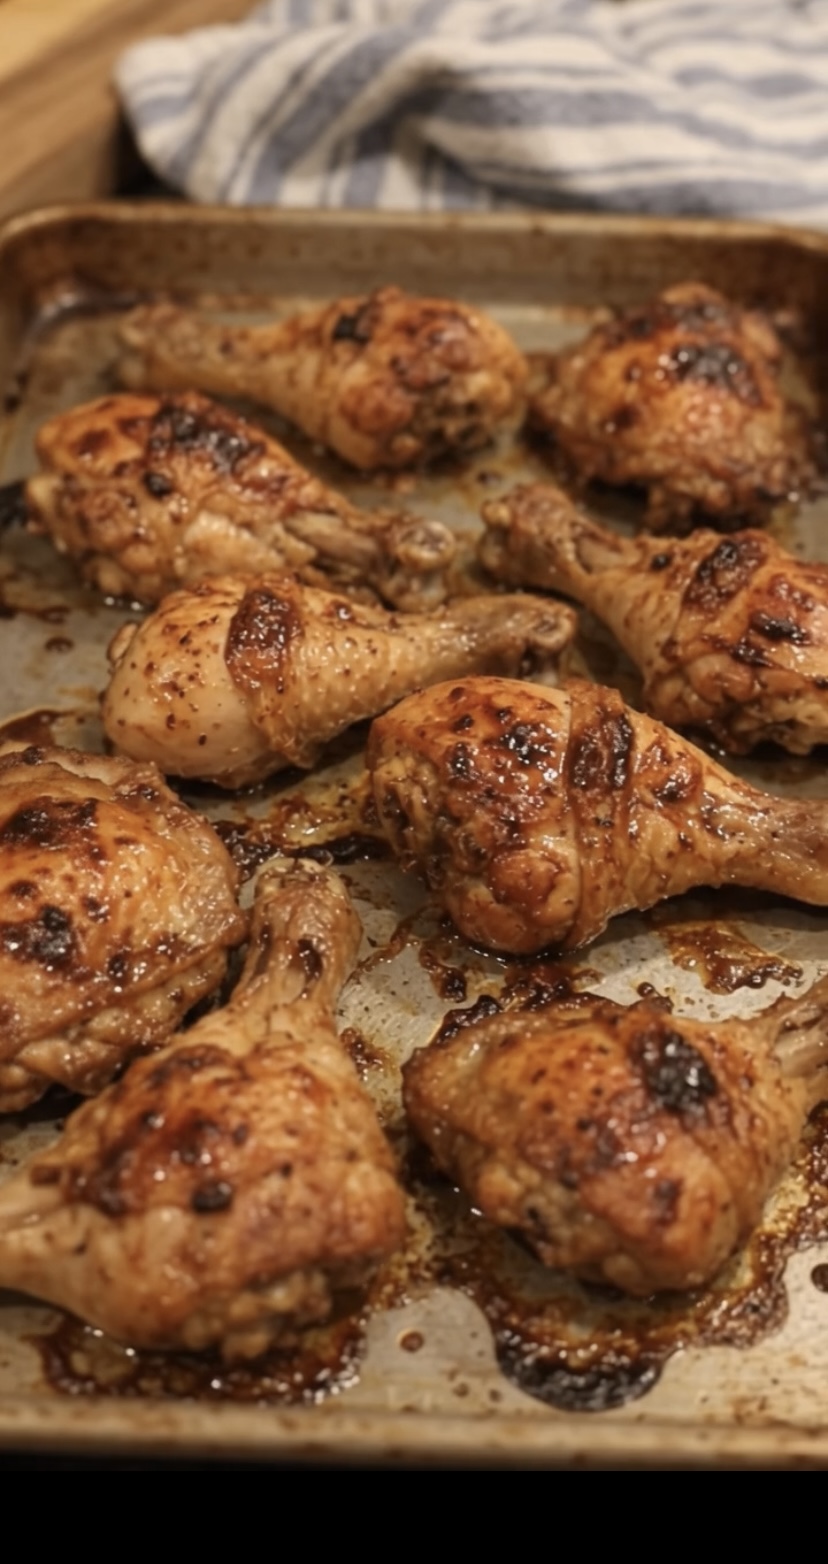
There’s something about a good 1970s oven baked chicken recipe that instantly feels like home, even if you weren’t around for the decade that made it famous. This is the kind of chicken your grandmother might have pulled out of the oven on a Sunday — golden, buttery, coated in a crunchy seasoned crust, and baked low and slow until it’s fall-off-the-bone tender.
Back before air fryers and sheet-pan hacks, home cooks relied on simple pantry staples — butter, crushed crackers or cornflakes, a handful of dried herbs — to turn an ordinary chicken dinner into something special. This recipe brings that same approach back, no fancy equipment required.
It’s the kind of meal that fills the whole house with a cozy, buttery smell while it bakes, and it’s just as satisfying served with mashed potatoes tonight as it was decades ago. Let’s bring this retro classic back to your table.
Why You’ll Love This Recipe
- Nostalgic, crowd-pleasing flavor — buttery, savory, and comforting in the best old-fashioned way.
- Simple pantry ingredients — no specialty items required, just what most kitchens already have on hand.
- Hands-off baking — mix, coat, and let the oven do the work while you prep sides.
- Crispy on the outside, juicy on the inside — that classic contrast people love about baked chicken.
- Versatile for any night — dress it up for Sunday dinner or keep it casual on a busy weeknight.
Ingredient Notes
This recipe leans on a few humble ingredients that were pantry staples in the 1970s and still hold up beautifully today. Crushed cornflakes or butter crackers form the crispy coating — either works well, so use whichever you have on hand. If you want extra crunch, crushed potato chips make a fun (if less traditional) substitute.
Butter is non-negotiable here; it’s what gives the coating its rich, golden color and helps it crisp up in the oven without deep frying. If you’re out of butter, a neutral oil will work in a pinch, but you’ll lose some of that classic richness that makes this dish feel retro in the first place.
For seasoning, a simple blend of paprika, garlic powder, onion powder, salt, and pepper does the heavy lifting. Paprika in particular is what gives this dish its warm color and subtle smoky-sweet flavor, so don’t skip it even if you’re tempted to simplify the spice list.
🍗 1970s Oven Baked Chicken Recipe
Prep Time: 15 minutes | Cook Time: 55–60 minutes | Total Time: about 1 hour 15 minutes Servings: 4–6
Ingredients
For the Chicken:
- 1 whole chicken (3.5–4 lbs), cut into 8 pieces, or 4 lbs bone-in, skin-on chicken pieces (thighs, drumsticks, and breasts)
- 1 cup buttermilk (or 1 cup milk + 1 tbsp lemon juice, rested 5 minutes)
- 1 tsp salt, plus extra for seasoning
- 1/2 tsp black pepper
For the Coating:
- 2 cups crushed cornflakes (or crushed butter crackers, like Ritz)
- 1/2 cup all-purpose flour
- 1 tsp paprika
- 1 tsp garlic powder
- 1/2 tsp onion powder
- 1/2 tsp dried thyme
- 1/2 tsp dried parsley
- 1/2 tsp salt
- 1/4 tsp black pepper
For the Butter Baste:
- 3/4 cup (1.5 sticks) unsalted butter, melted
- 1 tbsp Worcestershire sauce
- 1 tsp Dijon mustard (optional, for depth)
Instructions
Step 1: Marinate the chicken. Place the chicken pieces in a large bowl or resealable bag with the buttermilk, 1 tsp salt, and 1/2 tsp pepper. Toss to coat evenly, cover, and refrigerate for at least 30 minutes, or up to overnight. This step tenderizes the chicken and helps the coating stick, so don’t skip it even if you’re short on time — even a quick 30-minute soak makes a noticeable difference.
Step 2: Preheat the oven and prep your pan. Preheat the oven to 375°F (190°C). Line a large baking sheet with foil and set a wire rack on top, if you have one — this allows air to circulate under the chicken so the bottom crisps up instead of getting soggy from sitting in its own juices.
Step 3: Make the crispy coating. In a shallow dish or large zip-top bag, combine the crushed cornflakes, flour, paprika, garlic powder, onion powder, thyme, parsley, salt, and pepper. Mix well so the seasoning is evenly distributed throughout the coating mixture.
Step 4: Make the butter baste. In a small bowl, whisk together the melted butter, Worcestershire sauce, and Dijon mustard (if using). Set aside — you’ll use this both to coat the chicken before breading and to baste partway through baking.
Step 5: Coat the chicken. Remove chicken pieces from the buttermilk, letting excess drip off but not patting completely dry — a little moisture helps the coating adhere. Dip each piece briefly in the butter mixture, then press firmly into the cornflake coating, making sure every side is well covered. Tip: press rather than roll the chicken through the coating — pressing helps the crumbs stick in an even, thick layer instead of falling off in the oven.
Step 6: Arrange and bake. Place the coated chicken pieces on the prepared rack or baking sheet, skin-side up, leaving space between each piece so they don’t steam each other. Drizzle any remaining butter mixture lightly over the top of each piece.
Step 7: Bake. Bake for 35 minutes, then check the chicken and rotate the pan for even browning. Continue baking for another 20–25 minutes, until the coating is deeply golden and the internal temperature reaches 165°F (74°C) at the thickest part of the meat, not touching bone. Tip: if the coating is browning too quickly before the chicken is fully cooked, loosely tent the pan with foil for the remaining bake time.
Step 8: Rest before serving. Let the chicken rest for 5–10 minutes before serving. This allows the juices to redistribute through the meat, so it stays moist instead of running out the moment you cut into it.
Recipe Notes
- Bone-in, skin-on chicken works best for this recipe — the skin helps hold the coating in place and keeps the meat extra juicy.
- If you prefer a lighter version, you can use boneless, skinless chicken breasts or thighs; just reduce the bake time to about 25–30 minutes and check for doneness earlier.
- This chicken also reheats well the next day in a 350°F oven for about 10 minutes, which helps bring back some of the crispiness lost in the fridge.
Nutrition Snapshot (Estimated, Per Serving)
- Calories: ~480
- Protein: ~34g
- Carbs: ~18g
- Fat: ~29g
These numbers are estimates based on standard ingredients and bone-in, skin-on chicken, and will vary depending on the exact cuts and brands used.
Storage & Reheating
Leftover chicken will keep in an airtight container in the fridge for up to 3–4 days. For best results reheating, use a 350°F (175°C) oven for about 10–12 minutes to help restore some crispiness — the microwave works in a pinch but will leave the coating soft.
This chicken also freezes well: wrap pieces individually and store in a freezer-safe bag for up to 3 months. Reheat from frozen in a 375°F oven for about 25–30 minutes, or thaw overnight in the fridge first for a slightly faster reheat.
Budget Note
This recipe comes in at roughly $2–3 per serving, making it one of the more affordable comfort-food dinners you can make. To stretch it even further, buy a whole chicken and cut it into pieces yourself rather than purchasing pre-cut parts, which typically cost more per pound. Crushed store-brand cornflakes or crackers work just as well as name-brand versions, so there’s no need to splurge there either.
Variations
Healthier/Lighter Version: Use skinless chicken thighs or breasts and swap half the butter for olive oil to cut down on saturated fat, while still keeping a crisp, flavorful coating. You’ll lose a little richness, but the herbs and spices carry plenty of flavor on their own.
Air Fryer Method: This recipe adapts nicely to the air fryer — arrange coated chicken pieces in a single layer (working in batches as needed) and cook at 375°F (190°C) for 20–25 minutes, flipping halfway through, until golden and cooked through. It’s a great option if you want that crispy coating with a shorter cook time.
Gluten-Free Swap: Swap the cornflakes for a certified gluten-free cornflake brand and use a gluten-free all-purpose flour blend in place of regular flour. Double-check your Worcestershire sauce label as well, since some brands contain gluten-based ingredients.
Meal-Prep Friendly: Bake a full batch on the weekend and portion it out with sides like mashed potatoes or roasted vegetables for easy grab-and-go lunches or dinners throughout the week. The chicken reheats well enough in the oven that it doesn’t feel like a sad leftover.
Frequently Asked Questions
Can I make this ahead of time? Yes — you can marinate the chicken in buttermilk up to a day in advance, and even bread it a few hours ahead of baking if you keep it covered in the fridge. This actually helps the coating adhere even better once it hits the oven.
What can I use instead of cornflakes? Crushed butter crackers, panko breadcrumbs, or even crushed potato chips all work well as substitutes and will give you a similarly crisp, golden coating. Each option brings a slightly different flavor, so feel free to experiment based on what you have.
Why is my coating falling off during baking? This usually happens when the chicken is too wet or the coating wasn’t pressed on firmly enough before baking. Make sure to press the coating onto each piece rather than just rolling it, and avoid moving the chicken around too much once it’s on the pan.
Can I use boneless chicken instead? Yes, boneless chicken works fine, though it will cook faster and won’t hold the coating quite as securely as bone-in, skin-on pieces. Reduce the bake time to about 25–30 minutes and check the internal temperature to avoid overcooking.
What should I serve with this chicken? Classic sides like mashed potatoes, buttered corn, green beans, or a simple dinner roll all pair beautifully with this retro dish. A crisp green salad on the side also helps balance out the richness of the buttery coating.
Related Recipes
- Classic Southern Fried Chicken
- Old-Fashioned Chicken and Dumplings
- Creamy Baked Chicken and Rice Casserole